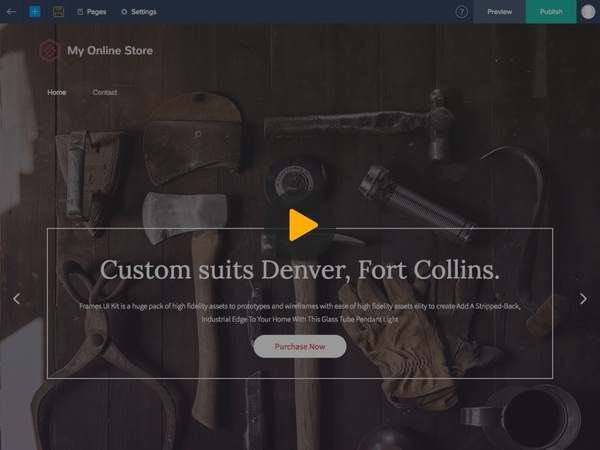
Create a Purchase Button
In this article we'll show you how to convert Zoho Sites' button element into a Foxy purchase option.

In this article
Add Foxy Code Snippet
To display the sidecart when a customer adds a product to cart and to store customer sessions, Foxy's code snippet must be added to your Zoho Sites website.
- 1
- In the Foxy dashboard, go to the Sample Code page.
- 2
- In the Sample Code page, copy the snippet of code from the Step 1 section.
- 3
- In Zoho Sites, click on the "Settings" option at the top of the page.
- 4
-
From the Settings menu, click on the "Header and Footer Code" option under the "General" section.
- 5
-
Scroll down to the "Footer Code" section and paste the snippet of code you just copied.
- 6
-
Click on the "Save" button to save your changes.
- 7
-
Click to go "Back to Builder".
Link Button Element
- 1
- In the Zoho Sites, select your purchase button to display the button settings panel.
- 2
- In the button settings panel, click on the "Link" tab.
- 3
- Click on the "Change Link" button.
- 4
- From the "Set Link" menu, click on the "Web URL" option.
- 5
- Go back to the Foxy Sample Code page to get a sample purchase link.
- 6
-
From the Step 2 section, copy the link example
hrefvalue. - 7
-
In Zoho Sites, paste the link you just copied into the "External URL" field.
- 8
- Modify the product parameters as needed. More information about product parameters can be found in our wiki here.
- 9
-
Save your changes.
- 10
-
Test your purchase button to ensure it works as expected.
